How to Use the Photoshop Magic Wand Tool? Many professionals and D.I.Y. enthusiasts use Photoshop magic wand tools in their day-to-day work. Even if you don’t hear about this tool, no worries; in this article, I am going to share with you details about the Photoshop magic wand tool. Magic wants tools very useful when you do photo background removal or do Photoshop clipping path, And you will get an answer to a few questions like “how to use the Photoshop magic wand tool?”
So, without delay, let’s start our discussion
What is a Photoshop Magic Wand Tool?
Well, the Photoshop magic wand tool will allow you to mask and select a specific part of an image. This tool is providing you the power of changing one part of an image, whereas the other part will remain intact.
If you ask me, what is the purpose of using Photoshop magic wand? Too? In one sentence, my answer is, Photoshop magic wand removes the background, and the object of the image remains unchanged.
Magic Wand tool Photoshop Tutorial
Following 6 simple steps, I am going to show you how to use the Photoshop magic wand tool. The process is pretty straightforward. I am going to use Photoshop CC18 in this tutorial.
Step 01: Open your required image
Firstly, open the file of the image that you are going to work on.
Keep the image open and go to Windows > Layers to open the layer’s palette.

The Background layer requires highlighting. Also, it is inevitable to duplicate the background layer by following the Layer > Duplicate Layer option.

An option will come where you need to give a customized name to the duplicate layer. This will help you to locate this layer in the future if any of your team members want to work with it.

Step 02: The background layer need to be hidden
As you are going to start modifying the image. So, have a look at the image thumbnail of the layer’s palette. You will find an eye icon, click on that. Following this way, you are hiding your actual background so that while working, you work on the duplicate layer only.

Step 03: Get the Photoshop Wand tool configured.
From the tools palette, select the Photoshop Wand Tool. Or you can open it by pressing the keyboard key “W”
If the magic wand tool doesn’t appear, maybe it is hiding behind the quick selection tool. If that is the case, hover your mouse to the Quick Selection tool, and the Magic Wand tool will appear. Select the device from there.

Once the magic wand tools get selected, you can work with multiple parameters to control how many portions you are going to choose at once.
The upper part of the Photoshop bar will give you an idea of how the magic wand tool works.

Step 04: Mark your selection
You can follow two simple methods to select the subject of an image using the magic wand tool.
The background color of the image will depend on the method that you will follow.
Method 01: Background selection
If you want to keep the background color as a solid one, you need to select the background, and then you will do the inverse of the selection.

1. Be sure, and you are working in the duplicate layer.
2. With the magic wand tool selected, click anywhere on the image background.
3. Press and hold the Shift key, click on the background parts that were not included in the first selection.
4. Click Shift + Ctrl + I to make the inverse selection. Thus, the subject will be selected only.
Method 02: Subject selection
If multiple colors are your background, you can choose the subject of your image without selecting the environment.
![]()
1. Make sure you are working on the duplicate layer.
2. Avoid clicking any portion of the image while the magic wand tool is selected.
3. From the top of the application, you will find the Select Subject Button, choose it from there. Now, roughly you have chosen the subject.
4. From the top of the screen, double click on “Subtract from Selection.” This way, you can select any portion of the image except the subject. From the selection, these areas will be removed.
Step 05: Polish the corners of the selection
At the top of the application bar, you will find an option saying Select and Mask.
Once you select this option, your window will alter into a series of global controls that are placed at the right and the left side; you will find the spot-adjustment tools.
![]()
At the top right portion of the screen, below the Properties tab, you will find a button named View. Click on that and make your you have selected On Layers. Now, you will find that the subject is isolated without any background at all.

Several features are available in this section to play with. But you don’t need to work with all these multiple features. You have to work with a Smooth function and Refine Edge Brush Tool.
The more you drag the Smooth option to its right, the rough edges of the subject will become more smooth.
Photoshop Magic Wand Tool
The Refine Edge Tool will assist you to do refining to certain areas. To work with the Refine Edge Tool, click and paint over the areas that require polish.

Once you reached your satisfaction level, hover your mouse to the Output Settings that are placed at the lower-right side of the screen and follow Output > Layer Mask > OK.
 Now, the subject is fully isolated from the background of the image.

Step 05: Place a new background on the image
To insert a unique experience into the picture, Open the required file that contains the new background.
Press Ctrl + A, in order to select the whole new background image. And copy it by pressing Ctrl + C.

Return to the file that you have isolated in
Step 06. Before Pasting the new background
into the file by following Ctrl + V, choose the unchanged Background layer.
Between the masked layer and the actual layer, the new background will appear as a new layer.
Before and After Image
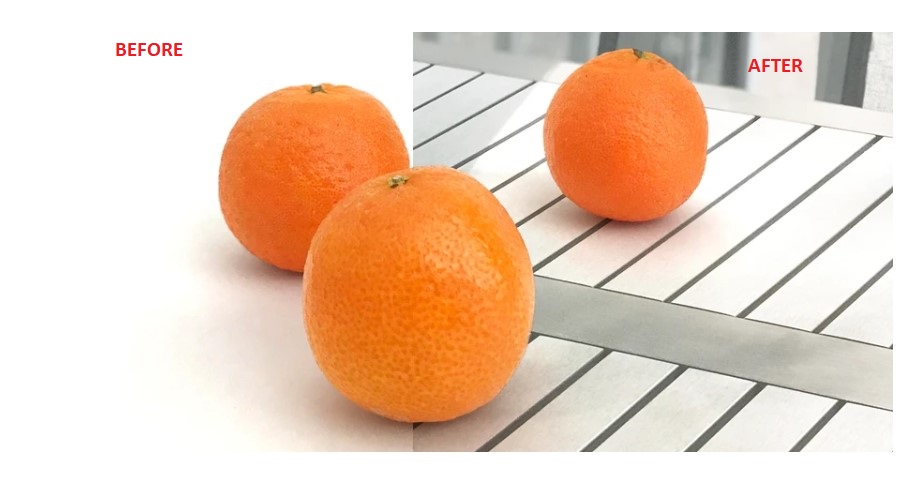
Photoshop Magic Wand Tool
Conclusion
You can apply this Photoshop technique in your product photo. Using the Photoshop Magic wand tool, you will be able to alter the background to any background design.
How to Use the Photoshop Magic Wand Tool?
Published by
Clipping Path House Graphics Media
https://www.clippingpathhouse.com
You may read CPH author’s another famous post
How to shoot on iPhone

How to shoot on iPhone


Using the magic wand tool may seem easy but it is not and this tutorial shows just that. I thank you for this amazing tutorial.
Photoshop magic wand tool is good but now Adobe Photoshop CC 2021 has another selection tool as subject select. this option uses AI to select the subject from an image. still, it is a very well-done tutorial. very much appreciated .