
How to Change Background Color in Photoshop CC 2023 – Click! What a beautiful picture, but I wish the background color were different. Guess what! Your wish will come true if you know how to change background color in Photoshop cc 2023. The background changing task is easy if you know and follow the changing rules correctly. However, if you are new to the software, then go through this article attentively and give your photo a new look with a different background.
How to Change Background Color in Photoshop CC – Steps to Follow –
Before changing the color, you have to keep knowledge about the Photoshop tools that will help you make the change perfect. If you are a novice, then make sure to follow the given steps properly to ensure the change unnoticeable.
Starting with Photo:
First, you have to select the photo which you want to change. The below 2 steps are basic and common procedure when changing image background color in Photoshop CC 2020.
Step 1: pick the photo
Choose the photo on which you want to work. Try to pick a quality one because the sharp and clean image takes less time to edit.
Avoid the images that come with
- Spiked, loose hair
- Multiple edges
- Blended background
Step 2: use two layers
Don’t work or edit on the original image in the software. Instead, create layers of the image and work on the duplicate ones. By this, you can edit in any way you want.

Methods You Can Follow to Change the Background
While working with Photoshop software, you’ll find different tools that help change the image’s background color. Here I will try to enlighten the methods briefly to make you understand which will work for you.
Method 1: Using Pen Tool
By using the pen tool, the background changing process gets perfect. It is the best tool that ensures quality change without any damage.
You have to work with this tool by creating a clipping path.

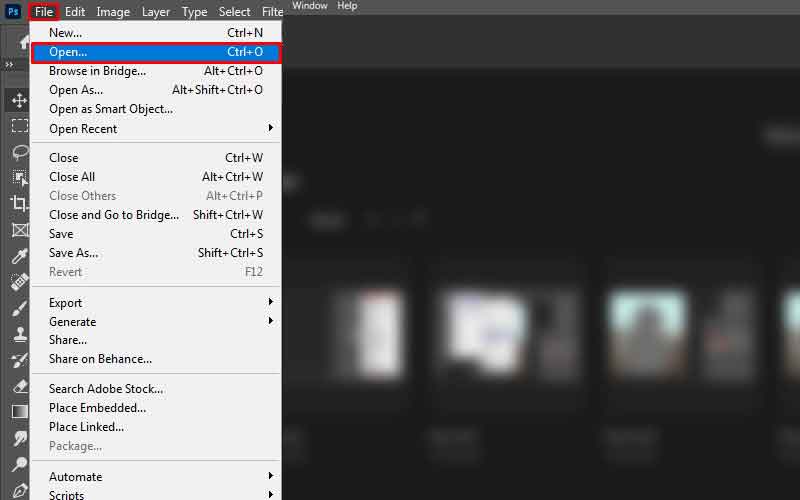
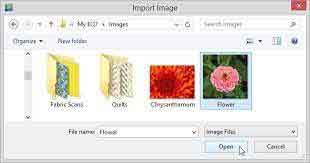
Step 1: Importing Image
At first, import the image in Photoshop software on your desktop, windows, or Mac. To import the image, go to the File menu, then tap the open section from the list. You will be directed to the storage where you have the image. Next, click the image and open it.
Step 2: Pick Pen Tool
Select the pen tool from the toolbar because you have to trace the item.

Step 3: Creating Clipping Path
Now create a clipping path of the object by zooming it to 200 to 300%.
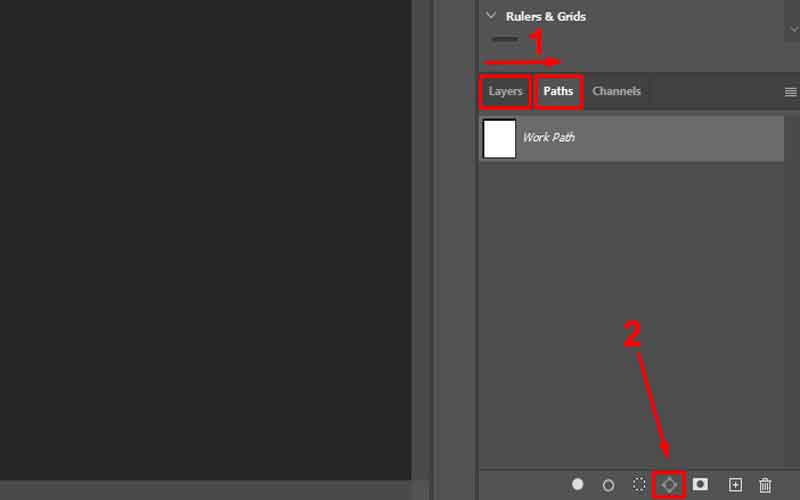
Step 4: Changing Feather Pixel Point
After completing the tracing, your next task is to turn the rough edge into a smooth one. You can do this smoothen task by selecting the path option from the toolbar. Next, click the make selection option to change the feather radius to 0.5 pixels. After changing the point, make sure to click the ok button to save the changes. By this, your selecting object task is done.
![]()
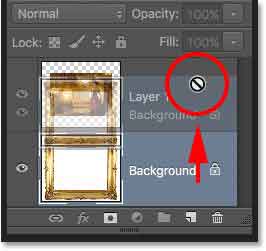
Step 5: Creating Background Layer
Press Ctrl + J by selecting the background layer. It will create a new layer with a transparent background. After duplicating the background, close the eye icon of the layer. You will get an image without a colorful background.
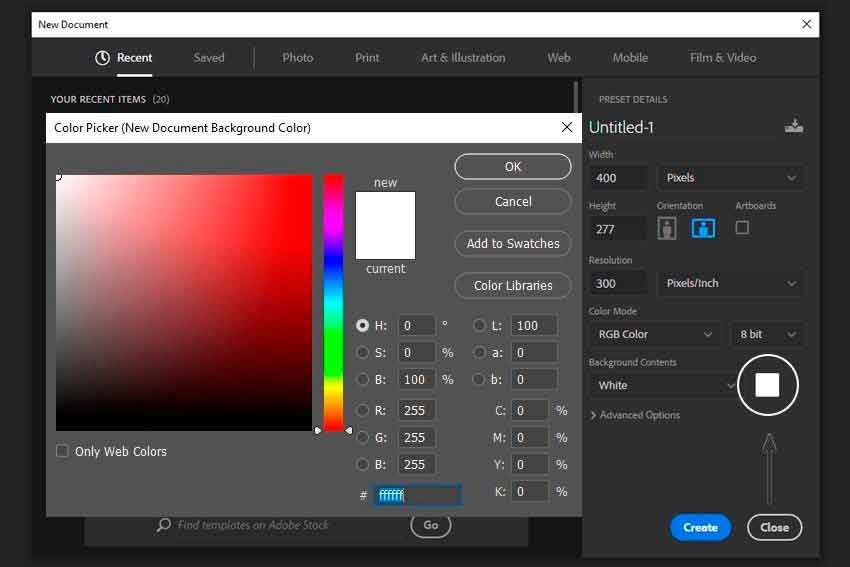
Step 6: Applying New Color
Make a new layer and keep it under layer 1. Now pick the color you want to apply to your image background. You can use the color picker tool or get the color code from an online color website. Now click layer 2 and press Ctrl+ Backspace. Your image will get new background color.
Step 7: Saving The Image
After changing the color, it is time to export the image from the software. First press Ctrl+S and then save the image in a folder. Your background changing task is over with the pen tool.
Method 2: Using Magic Wand Tool
This tool is the second most popular tool to use for changing the background color. The unique feature of this tool is you can select your object automatically. First, let’s check the changing process:
Step 1: Image Selection
At first, open the image from your laptop or desktop folder.
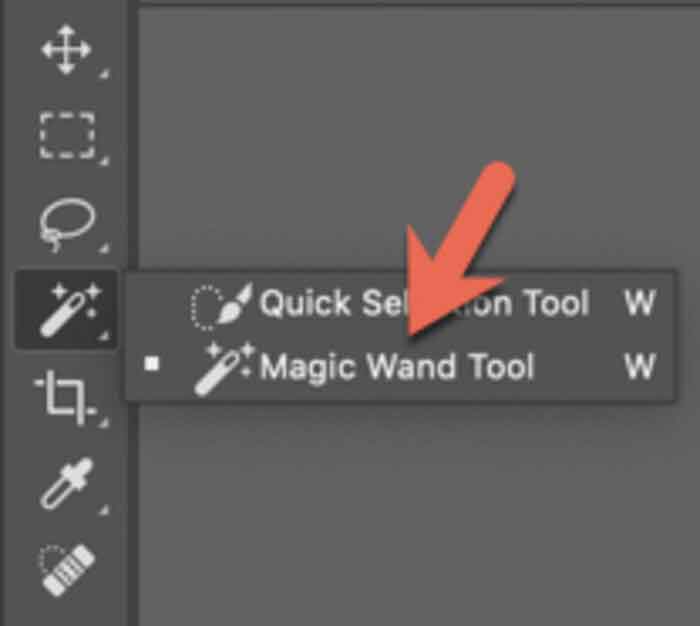
Step 2: Select Magic Wand Tool
Now select the magic wand tool from the toolbar. By selecting this tool, a path will get created around the image.
Step 3: Path Creation
Now click the select subject option. By this, a path will automatically select the part you want to change.
Step 4: Adjusting Feather Radiation
At this point, you have to adjust the feather radius option to 0.5 to smoother the edge.
Step 5: Duplicate Layer
Press Ctrl + J to duplicate the background layer. After making the layer disable the eye icon to create a transparent background.
Step 6: Create New Layer
Create a new layer and move it under layer 1. Now choose the color you want to use in your image and pick it with the color picker tool. Next, you have to apply the color by hitting the Ctrl+ Backspace key.
Step 7: Save Image
After editing your image with new background color, save and export the image in your folder.
Method 3: Using The Quick Selection Tool
This tool saves time and makes the editing perfect like professionals.
Step 1: Picking Image
Open the image in the software that you want to edit
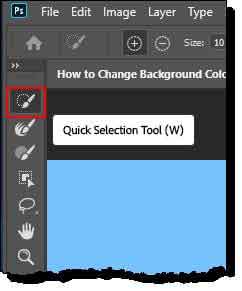
Step 2: Selecting Tool
Pick the quick selection tool from the toolbar
Step 3: Making Selection
Drag the cursor on the parts to make the selection quick. You can deselect the part by clicking the subtract option.
Step 4: Applying Color
You can apply solid color by creating a color layer to change the background color.
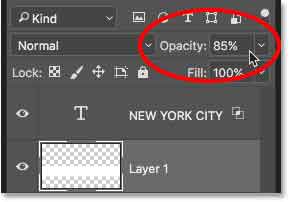
Step 5: Balancing Blending Mode and Opacity
To make the image look better, play with blending mode and opacity option.
Step 6: Saving Image
Save the image in your folder
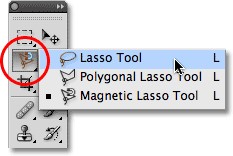
Method 4: Using The Lasso Tool
If your image requires less selection, then use the lasso tool to bring a new look to your image.
Step 1: Open an Image
Select the image and open it
Step 2: Pick Lasso Tool
Then pick the lasso tool from the toolbar.
Step 3: Lasso Tool Option
The magnetic lasso tool works like a magnet that sticks to edges and lines. The polygonal tool allows to draw lines, and the standard lasso needs handwork to draw. Pick the one that works for you.
Step 4: Copy and Paste in New Layer
After finishing the drawing, hit Ctrl + Click. Copy the selection and paste it on a new layer.
Step 5: Applying New Color
Apply the color to the new layer.
Step 6: Saving Image
Save the image, and you are done.
Tips to follow while changing the background color
Here are a few tips that needs to follow when changing the background color. These tips will help you to make your image elegant.
- Always use the new document to change the background color
- To give a bright look and maintain the image’s color balance, use Hue and saturation option.
- Use the paint bucket tool to fill the color in the image.
Summary
Once you master how to change background color in Photoshop CC 2023, playing with colors in your previous images will get fun and bright. If you have photos that made you sad for the wrong background color, follow the steps given in this article and bring back your memory with color and happiness.
Remember, “practice makes a man perfect” and it is must to become a master of Photoshop CC 2023.
You will forget the processes if you don’t practice.
Thanks for giving your time!
How to Change Background Color in Photoshop CC 2023
Published by
Clipping Path House – CPH Graphics Media
https://www.clippingpathhouse.com
You may read CPH author’s another some famous post
7 Tips for Photographers Who Never Photograph People


